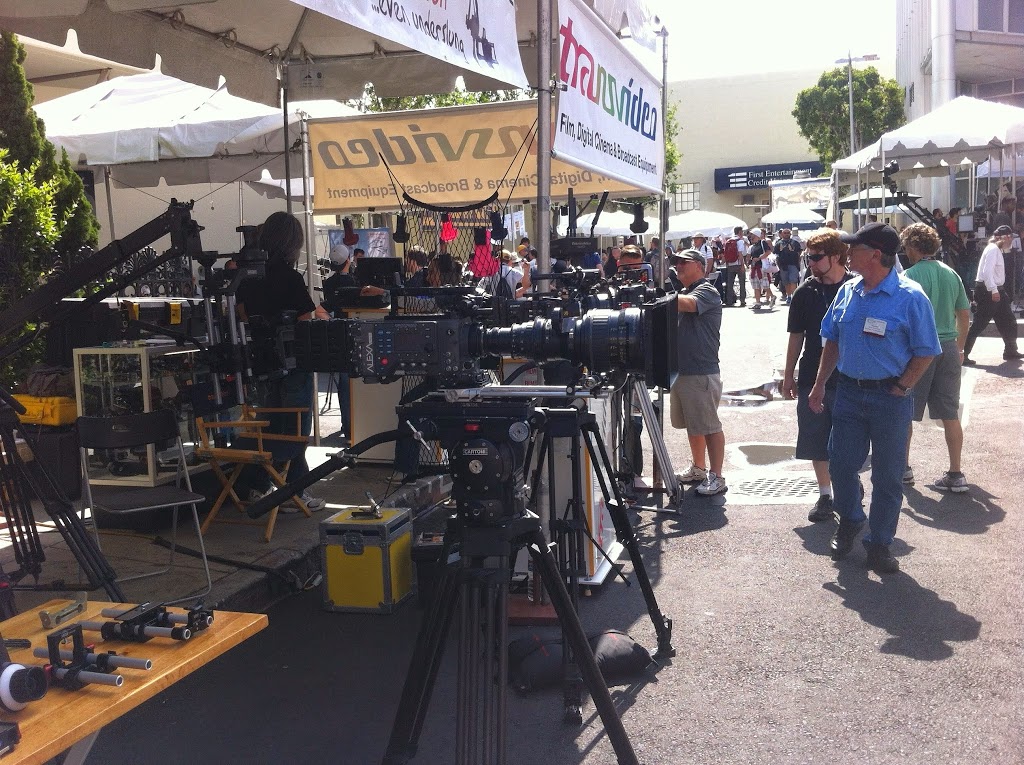
Well it’s that time of year again – CineGear!!!

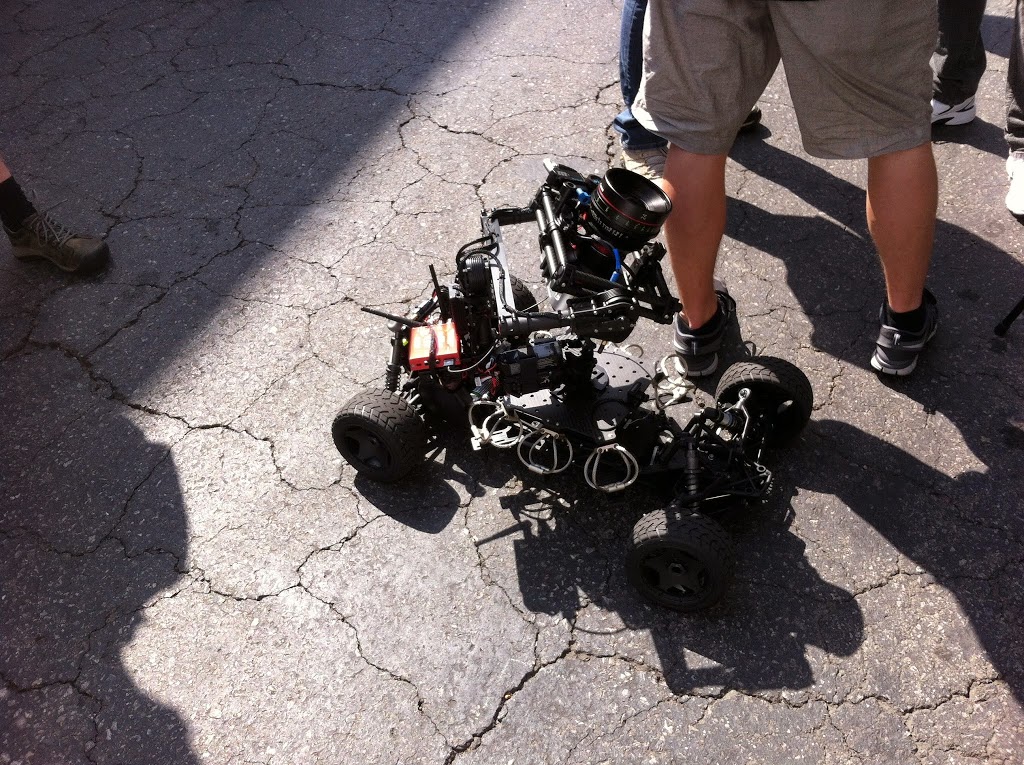
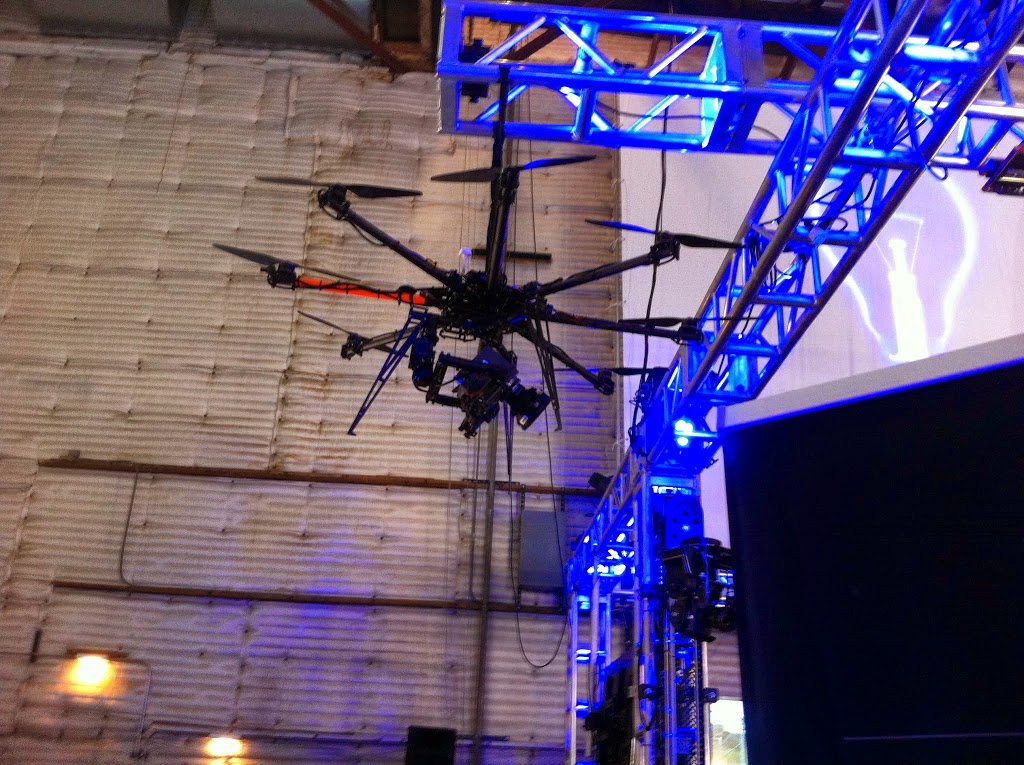
Seems like 2014 is the year of the copter and the gimbal.
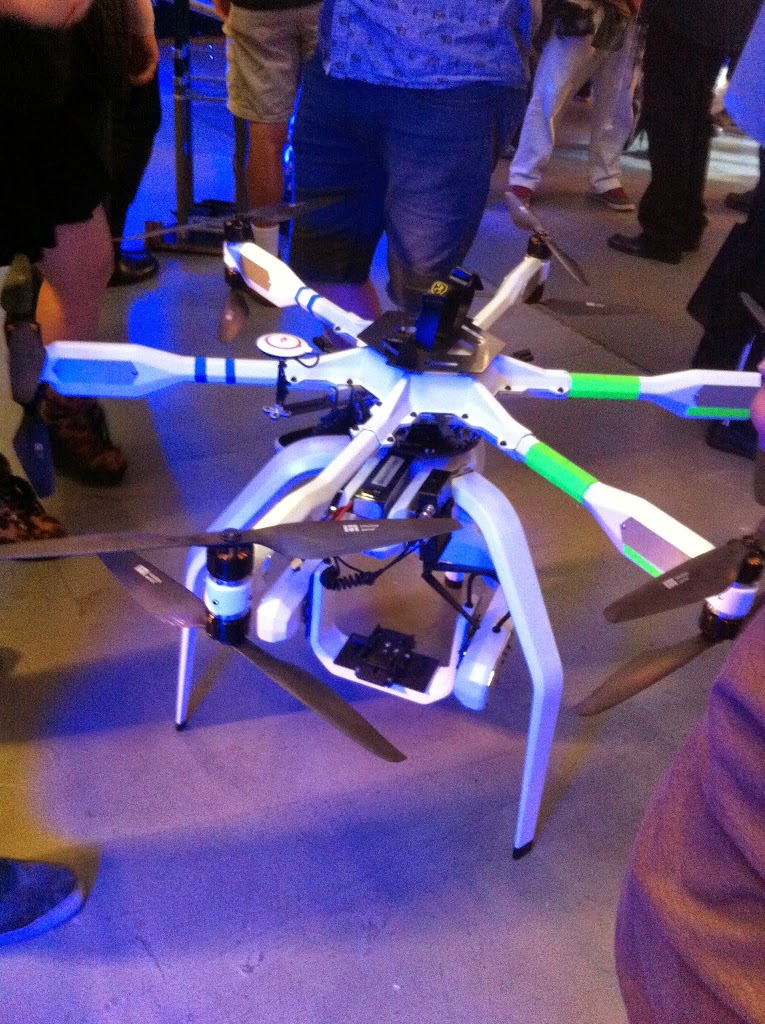
There were more copter offerings and camera support systems then I could shake a Steadicam at. When you first walked in there was a copter & gimbal booth just waiting for new folks to have a peek.
All the usual suspect were there and many new ones. This year I had a short list of items I was interested in. I’m mostly looking at camera support and control. Things like wireless video, wireless follow focus, a basic copter solution and I’m paying close attention to the race for the winning handheld gimbal kit. The camera race is definitely heating up but I don’t think I’m ready to jump into 4K yet and since that race is just getting started at the consumer and prosumer level, I’m hoping more time will lead to better product and pricing.
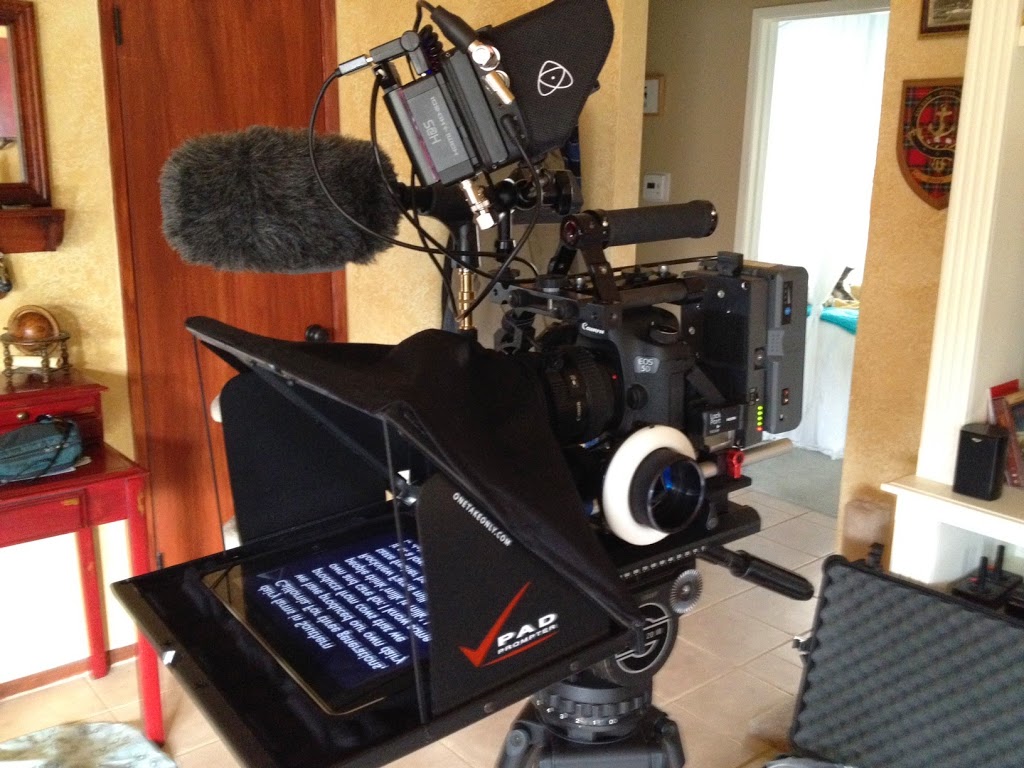
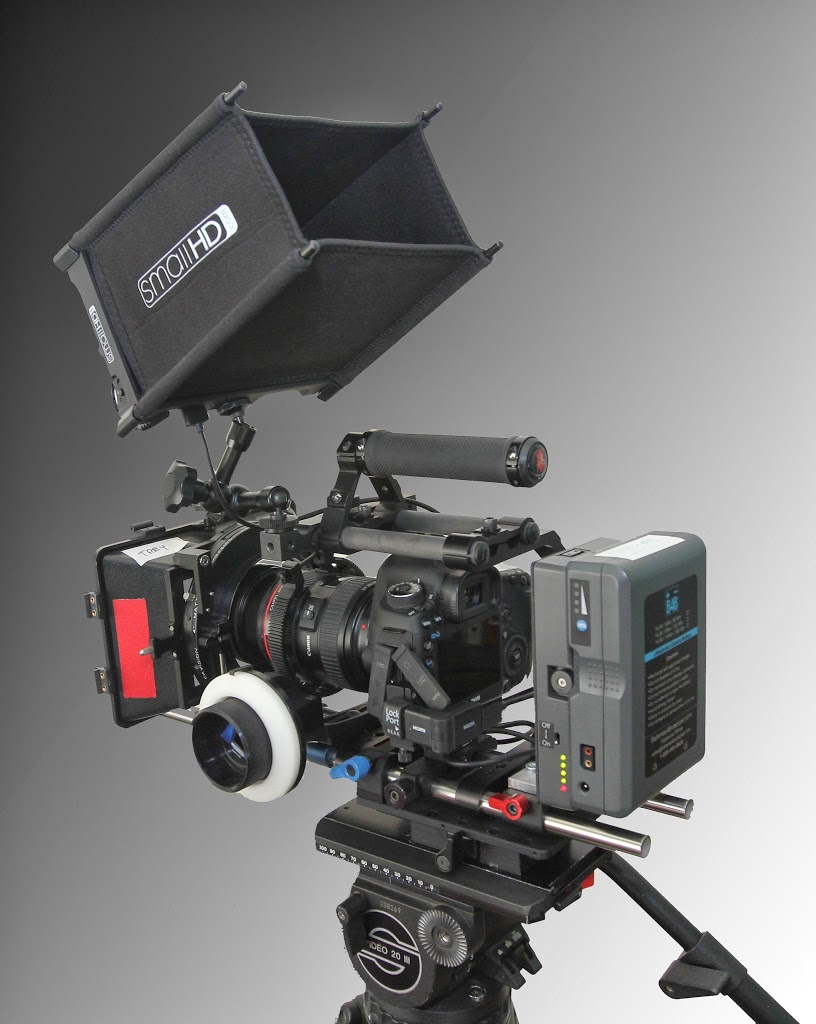
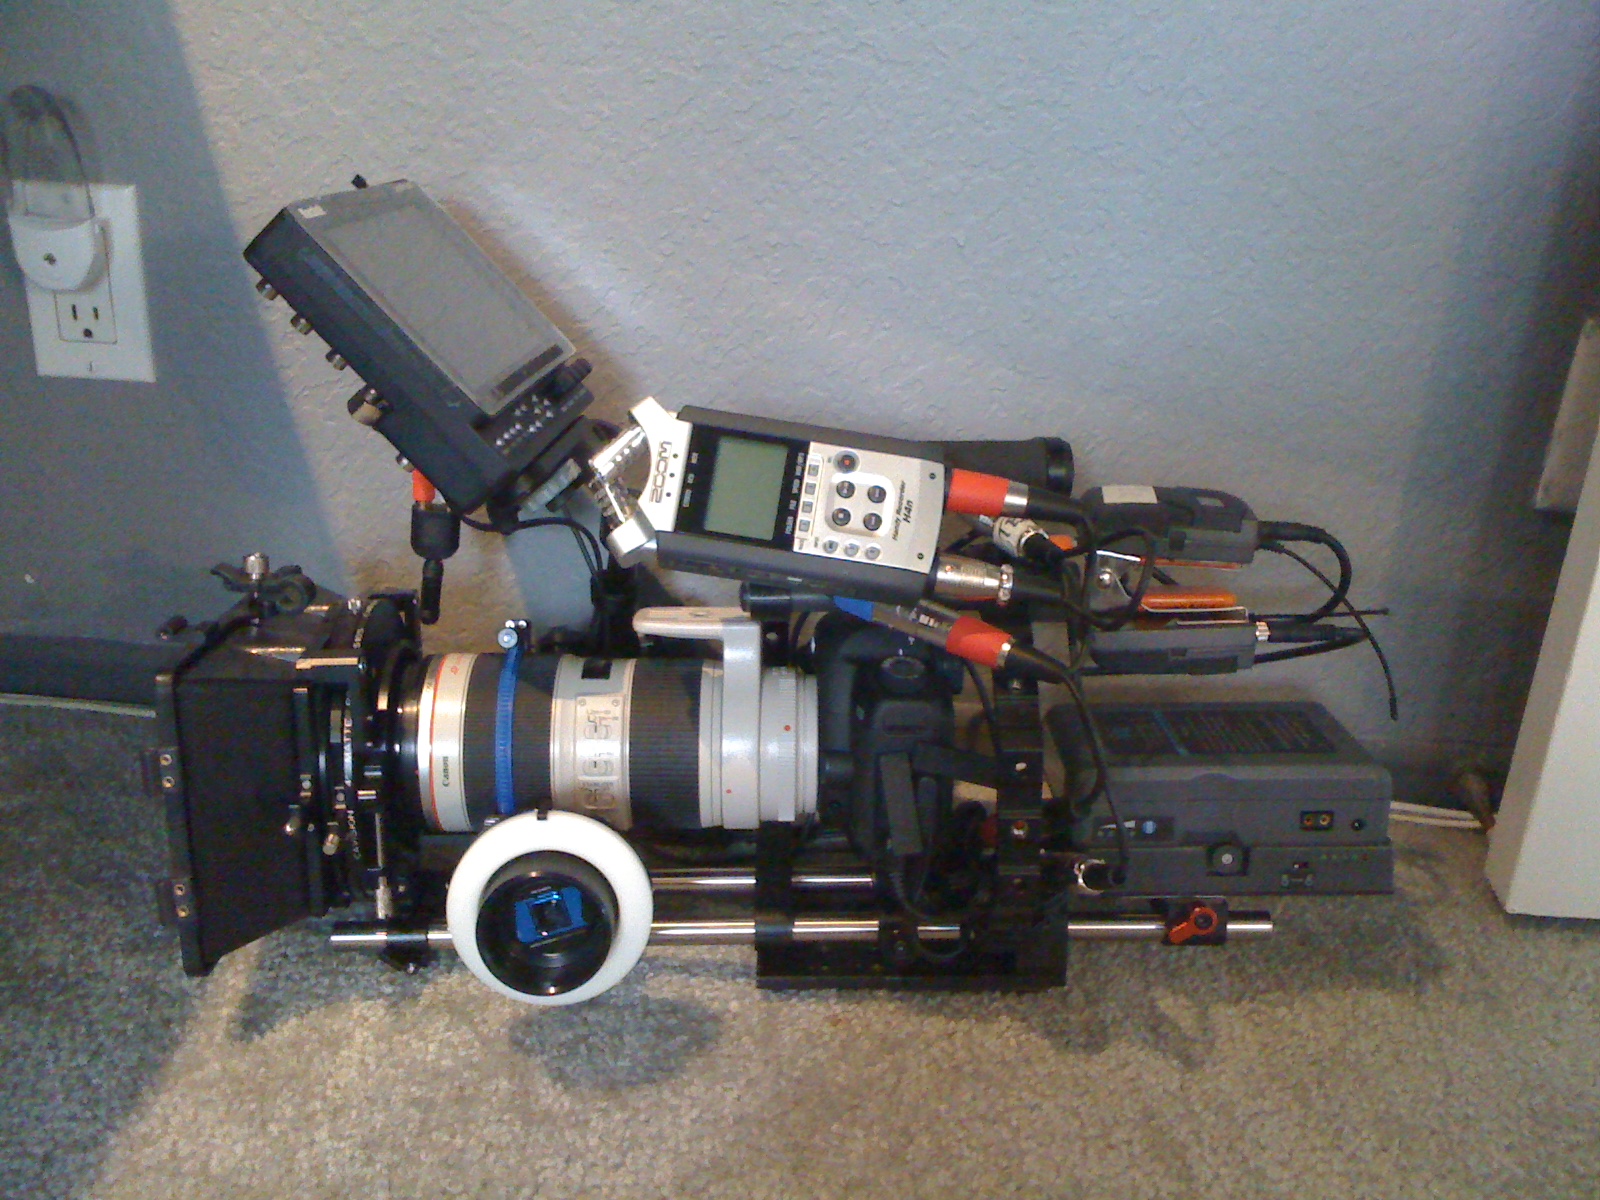
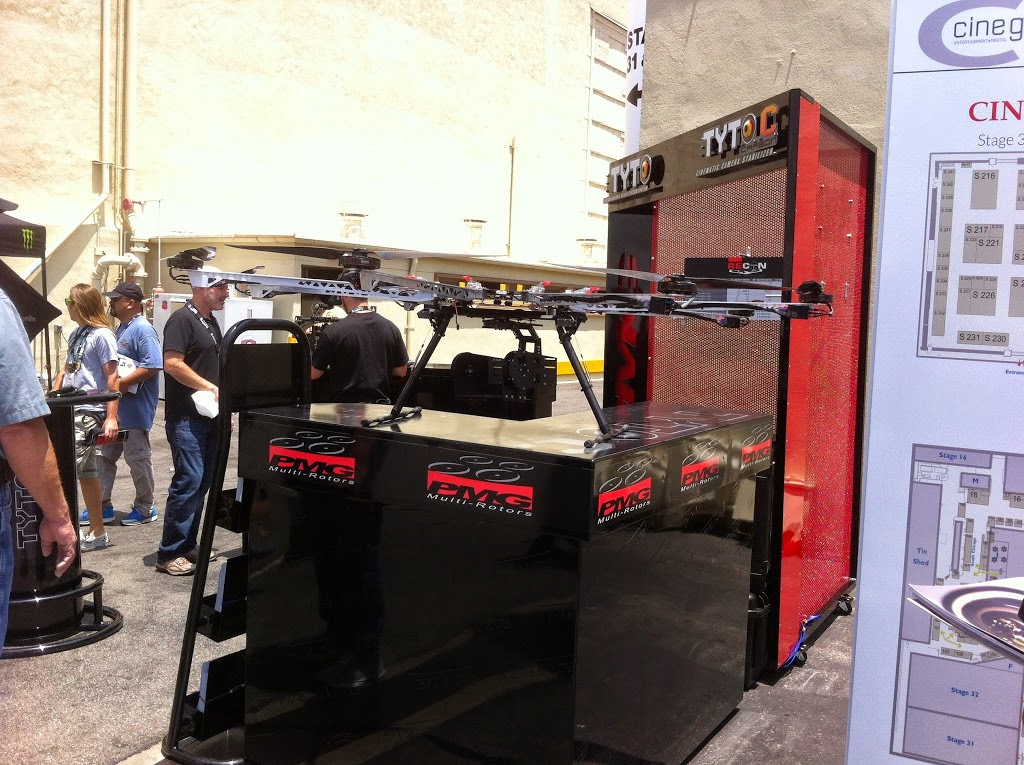
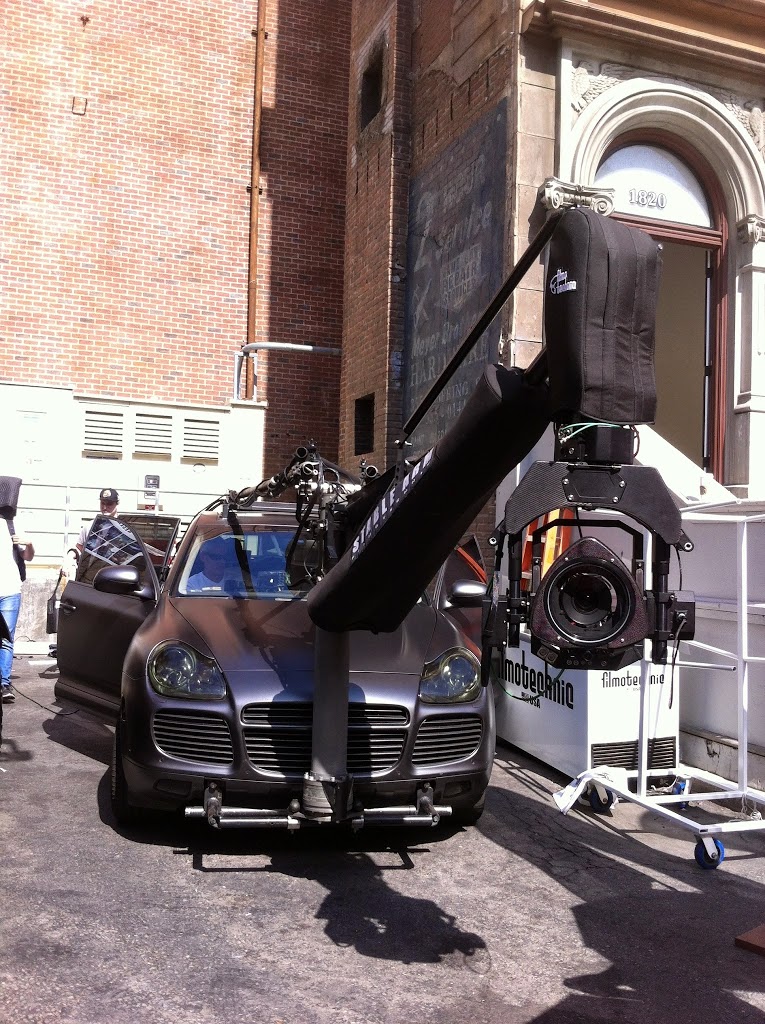
Here are some of the cooler rigs

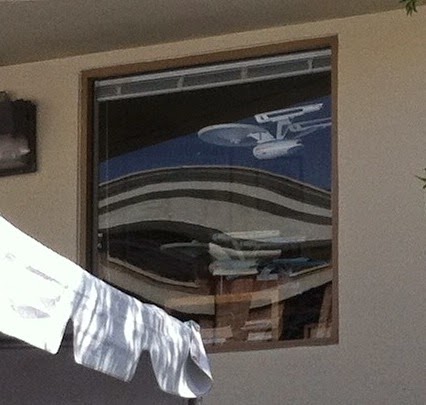
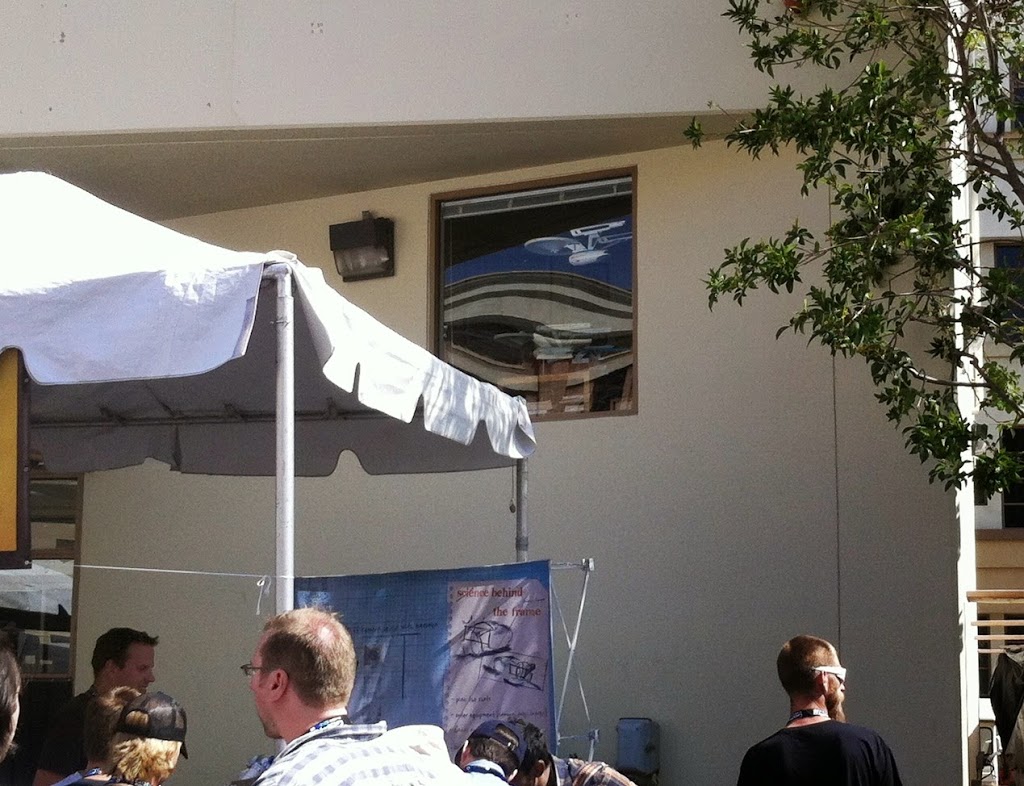
But the best one of all (Yes.. the USS Enterprise. We are at Paramount after all =)
For me, I found something I was looking for on every street. Teradek had a nice offering with their updated Bolt Pro line of wireless video. Noe it can work up to 2000 feet line of sight. I also checked out IDX and Paralinx. I think, for now, I might lean towards the Paralinx Arrow solution as I mostly need a multicast function with near zero latency.
I stopped by the Redrock Micro booth and took another look at their wireless follow focus the MicroRemote. Still looks nice. I wish they would come out with the iPhone controller they showed in 2012. Zacuto has a really cool lens control system that works in a grip form factor called the Control Grip. It’s a 2 motor system that can control either Zoom and Iris or Focus and Iris. It’s still in the testing stage and should be out later this year. I wish I had known about the new TitlaMax focus system from Tilta. I just saw this yesterday and would have loved to check it out in person. It is a 3 motor system (FIZ) with brushless German motors and a nice IPS touch screen for easy configuration and display.
One of the best things I found is from Woodencamera. It’s their multi connector breakout box: the C-Box. It can take HD-SDI and/or HDMI in and then send the signal out 3 HD-SDI BNCs and 2 HDMIs all at the same time. Wait, it get’s better… You can put a battery mount on one or both sides so it can function as your power distro with 2 D-Taps or clip on to an existing battery mount as an add on to extend a system. Nice!!!
It was a nice show this year. I ran into a lot of friends there and saw a bunch of great new gear. Can’t wait till next year!!!
Until next time, Good shooting
TDTrey
TDTrey